
I’m a lover of all things lager- Marzen, Schwarzbier, Helles, and Pilsner are all some of favorite styles. As a homebrewer, I initially avoided making lager due to my inability to precisely control temperature (I maintain that good lagers require the ability to control ferm temps). Once I finally got my fermentation chamber setup and made a couple lagers using more traditional fermentation schedules, I found myself avoiding them due to how long they took to finish. I also began wondering how I might be able to hasten the process. I had learned that with precise control of my temperature, I could turn most ales around in 2 weeks, something I caught some flack for when it became my norm. Why couldn’t I cut the typical lager fermentation down by similarly messing with temperature? I made a couple batches that came out surprisingly well, played with the method for a few months, and was gradually convincing myself the days of 2 month lagers were behind me. After numerous successful batches, I happen to catch the episode of The Session on The Brewing Network where Tasty mentioned how he takes lager grain to glass in 2 weeks using precise control of fermentation temperature. This was validating, particularly since I was aiming for a much less anxiety provoking 3-4 week turnaround, not the very quick 2 weeks Tasty discussed.
I don’t take credit for developing this method, rather I was inspired by smaller craft breweries making tasty lager beers who I assumed are forced to go grain to glass quickly just to maintain their business. I simply wondered, “if they can do it, why can’t we?”
German brewers began making lager beers long before the advent of controllable refrigeration, fermenting and conditioning their beer in caves that maintained a fairly consistent 45°-55°F. They also brewed with the seasons, hence beers like Märzen, which was only brewed between September 29 and April 23 with consumption usually commencing in late Summer through October. The point I’m trying to make here is that the long-term fermentation and aging appears to be mostly a function of the inability to control environmental temperature.
A few things we’ve learned over the last couple centuries of brewing is that yeast generally works slower at cooler temperatures and faster at warmer temperatures, most esters and phenolics are produced during the growth phase of fermentation, which in my experience lasts about 4-5 days for lager strains, and beer lagers faster at colder temperatures. I know, there’s supposedly something else that magically happens to a beer over time besides just clarity, but let’s be real here, clarity is what most of us are waiting for as the indication that a beer is ready to drink. And if I’m being totally honest, I sort of enjoy the very minimal perceptible changes that occur in a beer over the 2-3 weeks I have it on tap.
| THE METHOD |
Step 1: Primary Fermentation
Chill wort to pitching temp of 48°-53°F (9°-12°C), pitch adequately sized starter (decanted), set regulator to initial fermentation temp between 50°-55°F (10°-13°C), and leave the beer to fermentuntil it is at least 50% attenuated. I’ve found the time this takes is dependent on 2 primary factors:
1. Original Gravity: a 1.080 Doppelbock is going to take longer to reach 50% attenuation than a 1.048 Helles.
2. Yeast Type: in my experience, rehydrated dry lager yeasts take 12-36 hours longer to show signs of active fermentation compared to liquid yeasts built up in starters or even slurry harvested from a prior batch.
I originally advised leaving the fermenting beer at primary temp for 5 days assuming folks were checking SG prior to making temp changes. This was a mistake on my part. While it is possible even high OG beers will reach 50% attenuation in this amount of time, I’ve heard from a couple folks who experience differently. As such, here are my new better-safe-than-sorry recommendations:
| OG OF WORT | YEAST TYPE | APPROXIMATE PRIMARY TIME |
|---|---|---|
| ≤ 1.060 OG | Liquid | 4-7 days |
| ≤ 1.060 OG | Dry | 5-8 days |
| ≥ 1.061 | Liquid | 6-10 days |
| ≥ 1.061 | Dry | 7-14 days |
Another factor worth considering is your preferred primary fermentation temperature, as yeast is going to work a bit faster at 54°F (12°C) compared to 48°F/ (9°C). The original 5 day recommendation will likely hold true for most folks, as it has for me, I just want to emphasize the importance of taking SG measurements prior to making temp changes.
Step 2: The Ramp Up
Once 50% attenuation is reached, remove the probe from the side of the fermentor so it measures ambient temp in the chamber and start bumping the regulator up 5°F every 12 hours until it reaches 65°-68°F (18°-20°C). Allow the beer to remain at this temp until fermentation is complete and the yeast have cleaned-up after themselves, which can take anywhere from 4 to 10 days.
Alternate Option
Keep the temp probe attached to the fermentor and forgo the incremental temperature increases but immediately setting your regulator to 65°-68°F (18°-20°C). While I still prefer the more gentle approach to temp increases, I’ve heard from many people have had great success using this slightly less time-consuming approach.
Step 3: The Ramp Down
When FG is stable and no diacetyl or acetaldehyde is detected in the beer, begin ramping the temp down in 5°-8°F increments every 12 hours or so until it reaches 30°-32°F (-1°-0°C). Allow the beer to remain at this temp for 3-5 days, during which it will begin to drop clear.
Alternate Option 1
Setting the regulator to 30°-32°F (-1°-0°C) without gradually stepping the temp down will shave 2-3 days off of the entire process. Many brewers have done this with positive results, myself included, though I still tend to prefer the original method if only to reduce the amount of airlock fluid that gets sucked into the beer as it crashes.
Alternate Option 2
If super bright beer is something you pine for, as I do, and you’re okay with putting animal products in your beer, as I am, consider adding gelatin once the temp of the beer has reached 50°F (10°C). In my experience, this has significantly decreased the amount of time required for the beer to clear to commercial levels, I usually end up kegging 24-48 hours after adding the gelatin.
Step 4: Packaging & Storage
Once the beer is clear, it’s ready to be packaged, the process of which is obviously different depending on whether one uses kegs or bottles. Yes, bottle conditioning is absolutely possible with this method.
For Those Who Keg…
Simply transfer the cold and clear beer to your keg, place it in your keezer on gas, and leave it for 3+ days before enjoying! Using my typical kegging/carbonation method in conjunction with gelatin, I’ve found the beer is usually ready for consumption after about 5 days of “lagering” inmy keezer, while others swear their beers peak after 2 weeks or so of cold storage. This is likely an issue of subjective preference mixed with a sprinkle of confirmation bias, but regardless, do what you works best for you!
For Those Who Bottle…
Use a trusted priming sugar calculator to determine the amount of your preferred fermentable to use; adding extra yeast is unnecessary, even if you fined with gelatin. Place the primed bottles in an environment that maintains a fairly consistent 68°-72°F (20°-23°C) and allow them to carbonate for 2-3 weeks. Once carbonated, I recommend placing multiple bottles in the fridge to “bottle lager” for 5+ days before enjoying, as this will encourage the precipitation of most particulate matter, providing you a clear and delicious lager beer.
| PICTORIAL EVIDENCE |
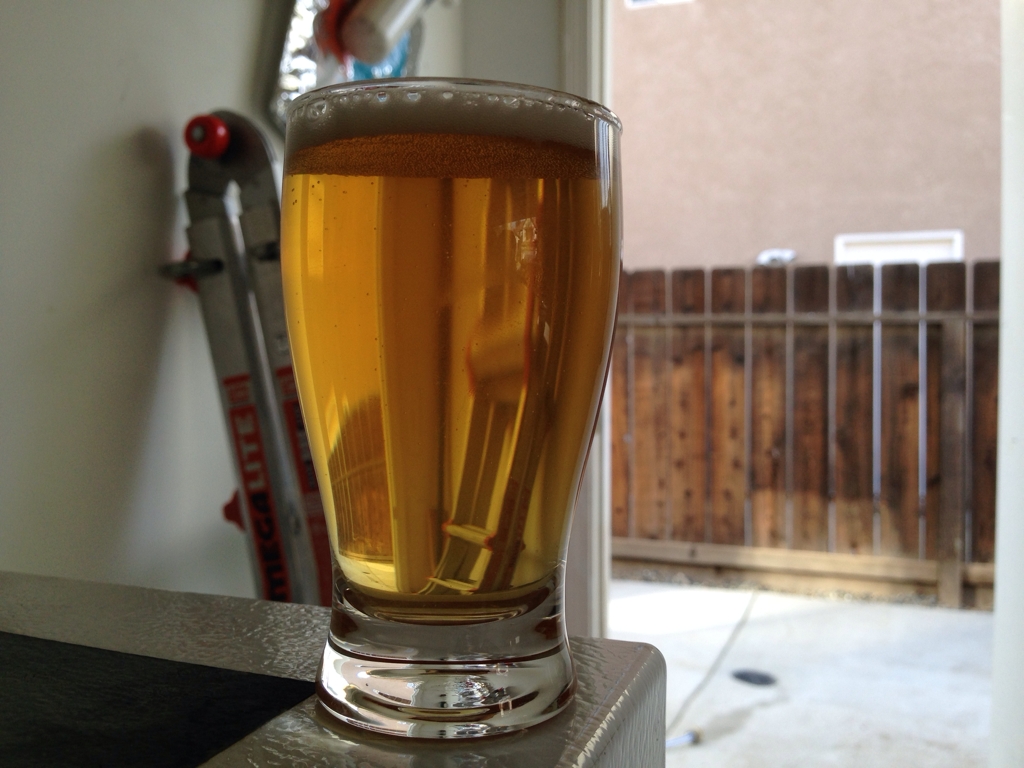
Dortmunder Export (1.058 OG) at 20 days old

German Pils (1.049 OG) at 24 days old
To the skeptics out there or those who feel anxious questioning convention, I understand completely, believe me. I know it’s not easy trusting some dude you’ve never met, but I mean it when I say the many lager beers I’ve made using this method have tasted exactly how they were brewed to taste, no different than those I made in the past using the traditional drawn-out method. If you’ve been holding off from making lager beer because of the time commitment, consider giving this method a shot, I have a feeling you’ll be brewing many more lagers in the future if you do.
Cheers!
I have seen a few presentations to AHB conferences that support this method from german homebrewers, and its not that different to my current faux lager brewing with 1272 at 15.5C for 4 days and then a massive D rest at 20C for 5 days then crash and carb... that produces crystal clear beers that have most of the lager thing going including head retention but not the "Crisp" thing a traditional yeast gives, too make it truely tasteless you could swap out some malt for adjunct... you would need to adjust the IBU down a bit.
I intend to clariferm this batch to make it almost GF as well